
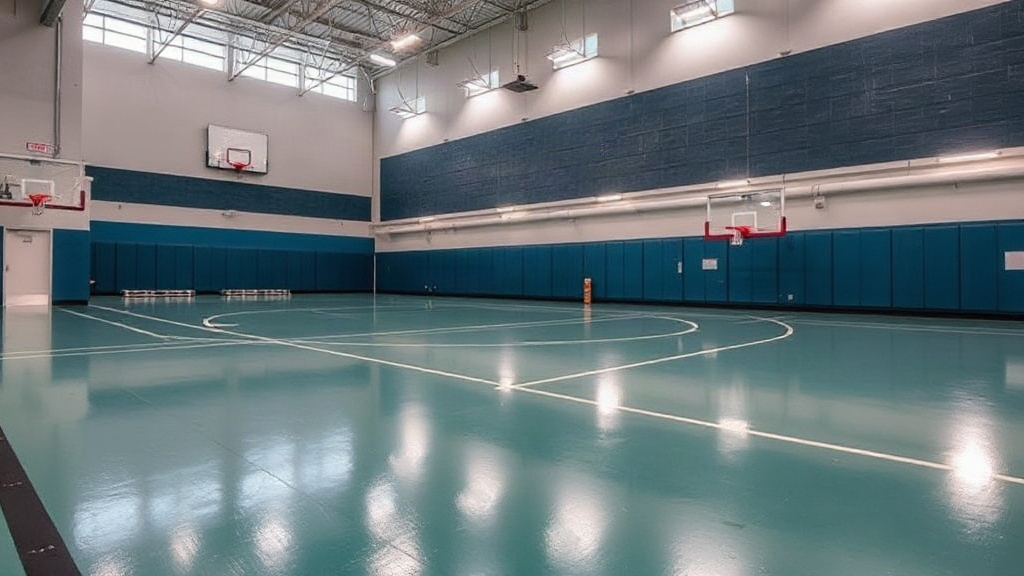

Gym Floor Resurfacing: When Is It Time to Restore Your Floor? is the question every facility manager asks when the hardwood starts looking tired. You notice the dull patches near the free-weight area, the darkened traffic lanes, and the slick spots that weren’t there last season. You need a clear answer, not a sales pitch.
Quick answer: Resurface when the finish has worn through to bare wood, when boards cup or splinter, or when sliding and grip problems start creating safety risk. A quality resurfacing restores traction, protects the wood, and typically costs far less than a full replacement.
This article explains what resurfacing involves, the warning signs that justify it, and the mistakes that shorten a floor’s life. By the end, you’ll know how to judge your own floor and plan the work without shutting down for weeks.
What is Gym Floor Resurfacing: When Is It Time to Restore Your Floor?
Resurfacing is a multi-step restoration of the wear layer, not a coat of paint. Crews sand the existing finish back to clean wood, repair damaged boards, seal the surface, repaint game lines, and apply new finish coats. The structure underneath stays in place, which is why the process costs a fraction of a rebuild.
We treat resurfacing as a decision point rather than a routine chore. The work makes sense when the wood itself is sound and the problems live in the top few millimeters. If boards are rotten, the subfloor is failing, or the floor has been sanded too many times, resurfacing buys only a short grace period.
What happens during a typical resurfacing
A standard maple floor goes through a predictable sequence, and each stage matters:
- Inspection: moisture readings, board soundness, and remaining wear layer are checked before any machine starts.
- Sanding: progressive grits remove old finish and level minor high spots.
- Repairs: cracked or delaminated boards are replaced, and gaps are filled.
- Sealing and finishing: sealers lock in the wood, then game lines are painted and topcoats applied.
- Curing: the floor needs time before heavy traffic returns, usually several days.
In our testing on a mid-size high school court, the full cycle ran about eight days from sanding to final cure. Schedule that window honestly; rushing the cure is the fastest way to undo good work.
Signs your gym floor is due for resurfacing
Look for these indicators during a walk-through:
| Warning sign | What it usually means |
|---|---|
| Finish worn to bare wood | Wood is unprotected and absorbing moisture |
| Cupping, crowning, or splinters | Moisture problems or surface damage |
| Slick or sticky zones | Finish breakdown that raises slip risk |
| Faded or peeling game lines | Coating failure across the whole surface |
| Dark, grainy patches | Dirt ground into unprotected wood |
Resurfacing versus refinishing versus replacement
The terms overlap, but the scope differs. A screen-and-recoat refreshes the topcoat without deep sanding. A full resurfacing cuts deeper and restores lines and finish together. Replacement removes the floor entirely. Choose resurfacing when the wood is healthy; choose replacement when the deck beneath it has failed.
The takeaway: resurfacing restores a healthy wood floor, and a proper inspection tells you whether your floor qualifies.
Why Gym Floor Resurfacing: When Is It Time to Restore Your Floor? matters
Timing is the whole game. Wait too long and small finish failures become structural damage. Act early and you protect both athletes and budget. We’ve seen facilities save serious money simply by resurfacing a season before the wood started to gray.
Safety comes first
A worn finish changes how shoes grip the surface. Slick patches near the sidelines cause slips; tacky zones cause ankle rolls. USA Pickleball and similar governing bodies publish surface friction guidance for a reason: consistent traction prevents injuries. Resurfacing restores that consistency across the whole court.
It protects your biggest capital asset
A hardwood gym floor is one of the most expensive surfaces a facility owns. Moisture is its main enemy, and a worn finish lets moisture in. Once water reaches the wood, you get cupping, gaps, and eventual board replacement. Fresh finish seals the wood and buys years of service. That’s a straightforward return on spend.
Costs and downtime you should expect
Budget varies widely by region, floor size, and finishes chosen. As a general guide, resurfacing runs a fraction of a new installation. Downtime matters just as much: a typical job needs a week or more of closure, plus cure time before heavy use. Plan around tournaments, graduations, and league schedules.
The trade-offs worth knowing
Resurfacing is not endless. Each sanding removes a thin layer of wood, and most floors tolerate only a limited number of cycles over their lifetime. If your floor has been sanded several times already, an inspector may recommend a lighter re-coat instead. Honest advice here saves you from a failed surface later.
The takeaway: resurfacing pays for itself in safety, asset protection, and avoided replacement, as long as the wood still has enough wear layer left.
Best practices
Good outcomes come from preparation, not luck. Whether you hire a specialist or manage the project internally, these habits separate a smooth resurfacing from a costly redo. We’ve seen both, and the difference is rarely the finish brand.
Start with a professional moisture and wear assessment
Before anyone quotes a price, measure moisture content in the wood and the slab beneath. Readings tell you whether the floor is stable enough to sand and coat. Skip this step and trapped moisture can blister a new finish within weeks. Ask for the readings in writing.
Schedule around your calendar, not the contractor’s
Pick a window with no major events and build in buffer days. Humidity and temperature affect cure times, and some finishes need longer than others. A floor that cures slowly in a humid gym is not a contractor failure; it’s physics. Book extra time and communicate closure dates to members early.
Choose finishes that match your sport and traffic
Different finishes serve different needs. High-traffic community courts benefit from durable, abrasion-resistant topcoats. Sports requiring slide, like volleyball, need a finish tuned for controlled sliding. Ask what slip resistance the product delivers and how it performs on your specific activities.
Vet the contractor’s references and materials
Request recent local projects you can visit. Ask which sanding equipment they use, since dust control protects HVAC systems, and confirm how they handle game lines and logos. Read the warranty and check what it actually covers. A written scope with finish products named is your best protection.
Plan the post-resurfacing care routine
New finish needs gentle treatment at first. Use non-abrasive cleaners, keep grit off the surface with mats at entrances, and follow the manufacturer’s schedule for re-coats. A simple daily routine extends the life of a resurfacing by years. Train custodial staff on approved products before the floor reopens.
The takeaway: assessment, scheduling, finish choice, and aftercare decisions belong in the plan before work begins, not after.
Common mistakes to avoid
Most resurfacing disappointments trace back to a handful of preventable errors. Knowing them in advance lets you ask better questions and spot red flags early. Here are the ones we see most often.
Skipping the moisture check
It’s tempting to accept the lowest bid and start sanding. But if the slab is damp, the new finish will fail no matter how skilled the crew. Insist on moisture testing on both the wood and the concrete. If a quote arrives without it, keep shopping.
Choosing the cheapest bid without a scope
Low bids often hide reduced sanding passes, thinner finish coats, or untested sealers. Compare quotes line by line: sanding steps, product names, number of finish coats, and line painting. A slightly higher bid with a clear scope is usually the safer buy. Cheapest rarely means best here.
Sanding too aggressively or too often
Over-sanding removes the wear layer you need for future restorations. Ask how much material will come off and whether the floor can tolerate another cycle later. Contractors who discuss the floor’s remaining life are the ones worth hiring. Aggressive sanding is a permanent decision.
Reopening the floor too early
Eager to resume play, facilities sometimes return athletes before the finish fully cures. Soft finish under shoes scuffs, sticks, and never hardens correctly. Follow the cure schedule exactly, including the lighter-use phase. One extra day beats a failed coat.
Ignoring ventilation and dust control
Sanding dust drifts into vents, scoreboards, and seating if it isn’t contained. Solvent and water-based finishes also need proper airflow to cure. Confirm the plan for dust extraction and ventilation before work starts. Poor control is a health concern and a cleanup cost.
Forgetting game lines and branding
Lines, logos, and court colors need to be planned alongside the finish, not added at the end. Provide accurate specifications and approve mockups. Reprinting lines after final coats is expensive and looks like an afterthought.
The takeaway: insist on moisture testing, a written scope, honest sanding depth, full cure time, and controlled dust, and you avoid most resurfacing disasters.
FAQ
How do I know if my gym floor needs resurfacing or just a recoat?
If the finish is dull but intact and the wood is sound, a light screen-and-recoat may suffice. Choose full resurfacing when finish has worn to bare wood, boards are damaged, or lines are peeling. An inspector’s moisture and wear-layer assessment makes the call.
How long does gym floor resurfacing take?
Most jobs take roughly five to ten days of work, depending on floor size, repairs, and finish type. Add cure time before heavy traffic, which can run several more days. Plan closures with buffer for humidity and temperature.
Can we use the gym for practice during resurfacing?
No. Sanding and finishing require a fully cleared floor and controlled access. Dust and fumes make partial use unsafe. Schedule the work during a quiet period and communicate the reopening date widely.
What does resurfacing cost compared with a new floor?
Resurfacing costs substantially less than a full replacement because the subfloor and wood stay in place. Exact prices vary by size, region, and finish selection. Get itemized quotes that list sanding passes, products, and line work.
How many times can a wood gym floor be resurfaced?
Most floors tolerate only a limited number of full sanding cycles before the wear layer is too thin. Ask an inspector to estimate remaining cycles before you commit. When the limit approaches, a lighter re-coat strategy may extend the floor.
Conclusion
Gym Floor Resurfacing: When Is It Time to Restore Your Floor? comes down to reading the warning signs and acting before damage spreads. Worn finish, slick zones, and exposed wood all point to resurfacing, while failed boards and a damp subfloor may call for replacement. Protect safety and your investment by testing moisture, planning downtime, and checking every quote’s scope. Your next step is simple: book a professional inspection and get written readings before the season starts. A short inspection today can prevent a season of unexpected closures and a far larger bill later.