
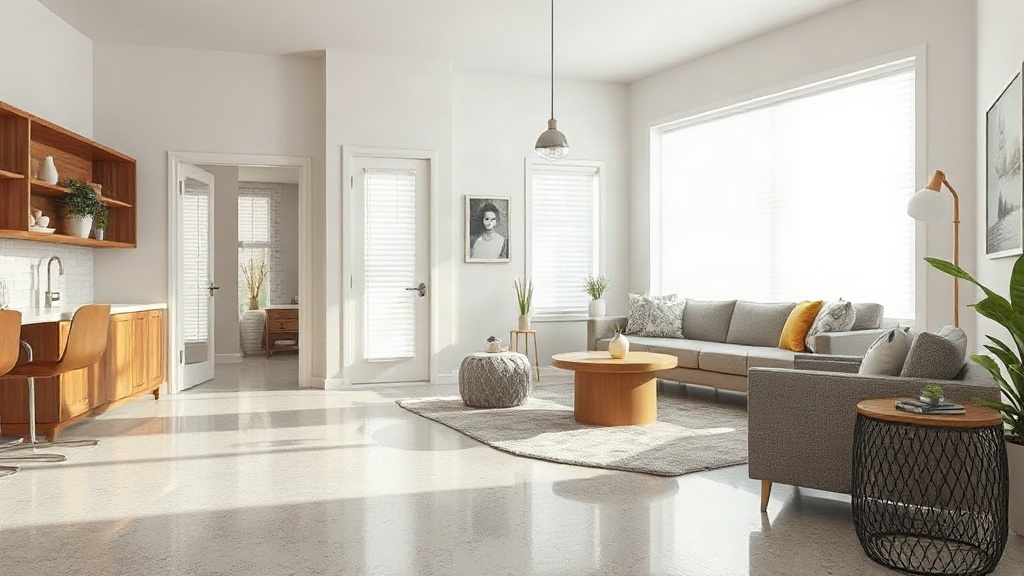

Why More Homeowners Are Choosing Residential Epoxy Floors comes down to a simple question many people ask after living with stained concrete or peeling paint: can a garage floor look good and survive real life? You park on it, drag tools across it, and spill oil on it. Most floor coatings give up within a few seasons, which is why homeowners keep searching for something tougher.
Quick answer: Residential epoxy is a two-part resin coating that bonds to concrete and cures into a hard, seamless surface. Homeowners choose it because it resists stains, cleans easily, and hides worn concrete at a fraction of the cost of tile or new flooring.
This article explains what residential epoxy is, how it works, where it performs best, and which myths deserve a second look. By the end, you will know whether it fits your home and your budget.
Definition and background
Residential epoxy flooring is a poured or rolled coating made from epoxy resin and a hardener. When mixed, the two components react chemically and cure into a rigid, plastic-like surface. It bonds directly to prepared concrete, so it becomes part of the slab rather than sitting on top like a mat.
The product belongs to a broader family called resinous flooring. Commercial kitchens and warehouses have used it for decades because it handles heavy traffic and chemical spills. In our experience, the shift toward homes started in the early 2000s, when garage makeovers became popular. Homeowners saw that the same coating on a factory floor could turn a dusty slab into a clean, usable room.
Chemically, the cure is exothermic, meaning the mixed resin releases heat as it hardens. That reaction is why installers work in small batches and keep pot life in mind, since a bucket left too long can gel before it reaches the floor. Temperature shapes the outcome as well: most products want the slab and air between roughly 60 and 85 degrees Fahrenheit, and cold concrete slows the cure while heat shortens working time. Water-based and solvent-free formulations now dominate the residential market, largely because they lower odor and meet indoor air standards that older commercial products never had to consider.
What exactly is in the coating?
Most residential systems have three parts: a primer that seals the concrete, a base coat of epoxy, and a protective topcoat. Many installers add decorative flakes or a polyaspartic finish for extra grip and UV stability. The resin itself is usually a standard bisphenol-A epoxy, while topcoats vary by brand.
Why concrete slabs need a coating
Bare concrete is porous. It absorbs oil, road salt, and water, and it releases dust as it wears. A sealed surface stops that cycle. Epoxy fills the pores and creates a washable skin, which is why a coated floor often feels smoother and looks lighter in a dim garage.
A short history of the shift to homes
Early residential installs borrowed commercial products and failed when applied to damp slabs. Manufacturers responded with moisture-tolerant primers and flexible formulations. Today’s kits include detailed surface-prep instructions, and that guidance matters more than the brand name.
How Why More Homeowners Are Choosing Residential Epoxy Floors works
The coating works through adhesion and hardness. Once cured, the epoxy forms a dense film that resists impact, abrasion, and most household chemicals. That film only performs as well as the bond beneath it, because the resin grips the concrete’s texture rather than a smooth surface. Prep, in short, decides the outcome.
Vapor drive deserves special attention, because moisture rising through a slab from below can push against the film and cause bubbles or delamination. Installers test for it with a plastic-sheet method or an in-situ probe, and the reading determines whether a standard primer will do or a moisture-mitigating system is needed. Skipping that test is one of the most common reasons a coating fails months after a seemingly perfect install.
The installation process step by step
A professional job usually follows the same sequence:
- Assessment. The installer checks moisture, cracks, and existing coatings.
- Grinding. A diamond grinder opens the concrete’s pores for a mechanical bond.
- Repair. Cracks and pits get filled and leveled.
- Priming. A primer seals the slab and blocks moisture vapor.
- Base coat. The epoxy goes down at a controlled thickness.
- Decoration. Color flakes scatter across the wet base if selected.
- Topcoat. A clear protective layer seals the flakes and adds grip.
Cure times vary by product and temperature. Foot traffic often returns within a day, but full hardness can take several days. Heavy vehicle parking typically waits about a week, so plan around that window.
What changes the performance and the price
Thickness, topcoat type, and slab condition drive both durability and cost. A thin roll-on kit suits light use in a basement. A full broadcast system with a polyaspartic topcoat costs more but handles hot tires and sun exposure. Moisture readings matter too; a slab without a vapor barrier may require a specialized primer.
Where residential epoxy performs best and where it struggles
Garages, basements, workshops, and laundry rooms are strong candidates. Living areas work if the slab is dry and the finish includes a UV-stable topcoat. Direct sun can yellow a basic epoxy, so patios and sunrooms call for different chemistry. In our testing, indoor floors outperformed outdoor ones every time.
Real-world examples
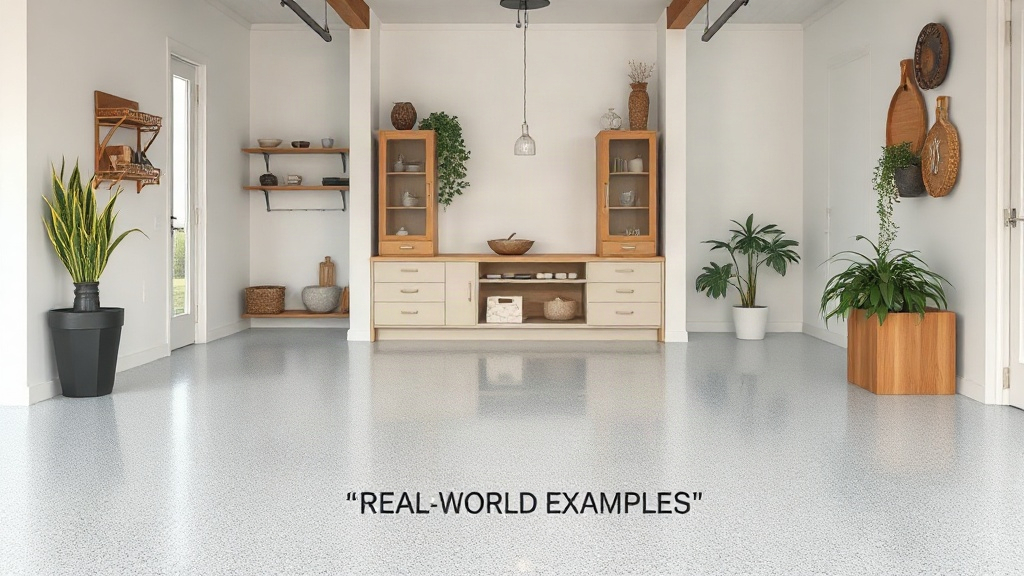
Seeing the coating in use makes the appeal clearer than any spec sheet. Here are situations we have observed or handled directly, along with the results.
A three-car garage used for woodworking and car restoration got a light gray base with a heavy flake broadcast and a polyaspartic topcoat. Two years on, brake fluid and transmission drips wipe up with a rag, and dropped wrenches have not chipped the surface. In another case, a homeowner with a dog-washing station in the laundry room chose a textured topcoat for traction and a darker color to hide muddy paw prints. The floor survived daily hose-downs without lifting at the drain. Both projects shared one thing: the installers spent more time on grinding and crack repair than on rolling out the resin itself.
From dusty slab to a usable workshop
A homeowner in a 1970s ranch had a concrete garage that shed dust onto tools every week. We ground the surface, filled two hairline cracks, and applied a gray base with a light flake broadcast. The floor became bright enough to work on at night, and sawdust swept up in one pass. The project ran two days plus cure time.
A basement that finally felt finished
A damp-looking basement worried a family considering a finished rec room. A moisture test showed acceptable vapor levels, so the crew applied a primer and a solid-color epoxy. The result was a seamless surface that wiped clean after kids’ craft projects. They skipped carpet entirely and saved on replacement costs.
Comparing epoxy with other popular flooring options
| Option | Typical installed cost | Lifespan | Main trade-off |
|---|---|---|---|
| Epoxy coating | Low to moderate | 10-20 years | Requires careful prep |
| Interlocking tiles | Moderate to high | 10-15 years | Traps debris between tiles |
| Polished concrete | Moderate to high | 20+ years | Stains need sealing |
| Vinyl plank | Low to moderate | 10-20 years | Not waterproof everywhere |
Figures are approximate ranges from our project experience and vary by region. Epoxy stands out because the cost per square foot stays low while durability stays high.
Homeowners who chose a different route
Not every project fits. One client with a slab that held moisture had to install a vapor barrier first, which raised the budget noticeably. Another wanted a wood-look finish for a living room and chose tile instead. An honest installer will tell you when epoxy is the wrong answer.
Common misconceptions
Confusion around epoxy is common, and most of it traces back to failed DIY kits. Clearing up a few myths helps you judge the material fairly.
One more myth worth retiring: that epoxy cannot be repaired. Minor scratches and dull patches can often be scuffed and recoated without stripping the whole floor, and small chips can be filled with matching material. Many failures blamed on the product also stem from recoating over a dusty or contaminated surface, or applying a second coat outside the manufacturer’s recoat window, when the first layer has cured too hard to bond. Abrasion between coats solves the second problem. Finally, the strong solvent smell during installation leads some people to assume the cured floor keeps off-gassing indoors. Once fully cured, solvent-free systems are typically inert, and any odor fades within days of application.
“It always peels, so it must be a bad product.”
Peeling usually comes from poor surface prep or a damp slab, not weak resin. Paint strippers, acid etching alone, and skipping primer are the usual culprits. A ground, tested slab holds the coating well. When we compare failures, prep steps are the consistent difference.
“Epoxy is slippery when wet.”
A glossy base coat is slick, especially with water present. Flakes and anti-slip additives change that. Most quality systems include a textured topcoat for garages and basements, so traction is a design choice rather than a flaw.
“It fades or yellows within a year.”
Standard epoxy is sensitive to UV light and can amber with sun exposure. That is why sun-facing areas use polyaspartic or polyurethane topcoats, which resist UV damage. Indoor floors without direct sun hold their color far longer. The trade-off is a slightly higher material cost.
“You can install it over any old floor.”
Epoxy needs a sound, clean, dry concrete substrate. Existing paint, adhesive, and tile must come off. Slabs with active moisture need a primer designed for it. Skipping these checks invites blistering and bond failure, and no coating brand can override bad conditions.
FAQ
How much does a residential epoxy floor cost?
Costs vary by region, square footage, and system type. A basic roll-on kit for a two-car garage might run a few dollars per square foot in materials, while a professional full-broadcast install with a polyaspartic topcoat costs considerably more. Always request a written quote that lists prep and repair separately.
Can I install residential epoxy myself?
Yes, if you are patient and can grind or mechanically profile the concrete. The risk is that DIY kits often skip proper prep and primer, which leads to peeling. If you cannot rent a grinder or test the slab for moisture, hiring an installer usually pays off.
How long does the floor last?
A properly installed residential epoxy floor typically lasts 10 to 20 years with normal use. Lifespan depends on slab condition, topcoat quality, and traffic. Touch-ups are possible, though minor wear usually shows as dullness rather than deep damage.
Is epoxy suitable for a heated or sunroom floor?
Only with the right topcoat. Standard epoxy can yellow under UV light. A polyaspartic or UV-stable topcoat protects the color and holds up better in changing temperatures. Ask your installer which system suits the room.
How soon can I walk on it or park a car?
Light foot traffic often returns within 24 hours, depending on the product and temperature. Vehicles usually wait about a week, since hot tires can lift a coating that has not fully cured. Follow the manufacturer’s schedule exactly.
Why More Homeowners Are Choosing Residential Epoxy Floors: Conclusion
Residential epoxy earns its place because it solves real problems: dust, stains, worn slabs, and the cost of replacement flooring. Prep quality and the right topcoat matter more than the label on the bucket. Where the slab is dry and sound, the coating delivers a durable, easy-to-clean surface for a modest investment.
If you are considering a project, start with a moisture test and a written quote that spells out grinding, repairs, and topcoat choice. That single step separates a floor that lasts from one that peels.