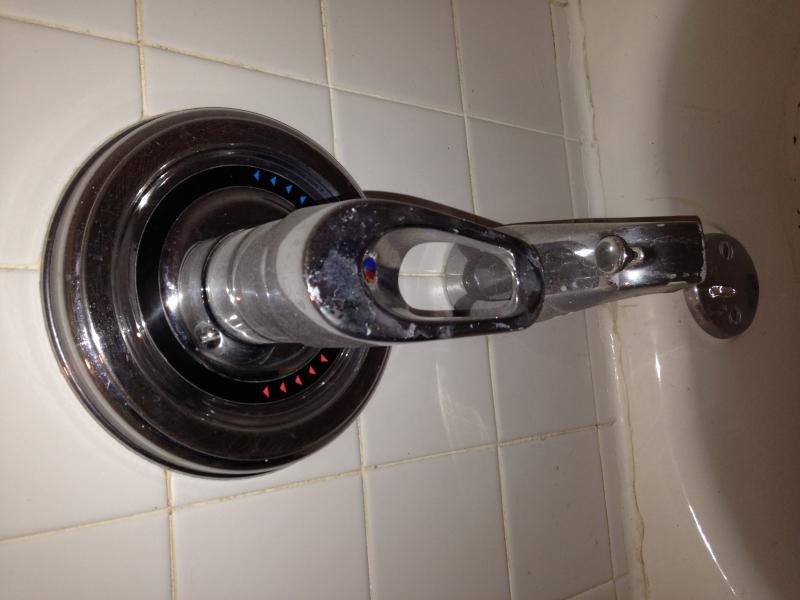
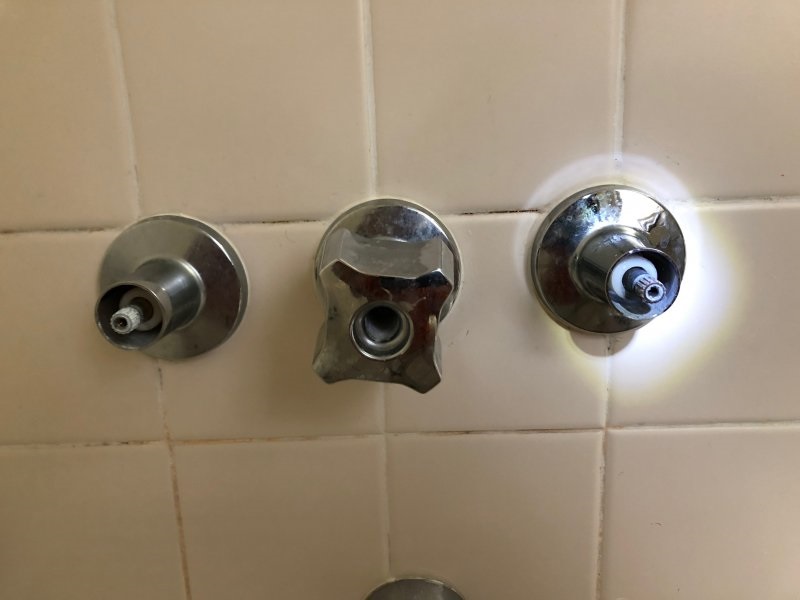
So, you’ve decided it’s time for a change, a bathroom makeover perhaps? Whether it’s for routine maintenance or an aesthetic upgrade, removing your Gerber shower handle is the first step in the transformation. Fear not, for we are about to embark on a journey of faucet liberation, where DIY meets simplicity. Get ready to bid adieu to that old handle and usher in the new with these tried-and-true methods.
The Prelude to Shower Handle Freedom
Before we delve into the removal process, let’s grasp the basics. Your Gerber shower handle, like many others, is secured in place with a concealed screw. Understanding this is crucial for a smooth removal process. Now, let the liberation begin!
The Tools of Liberation
You don’t need a toolbox the size of a garage. Here’s a concise list of tools you’ll require:
- Screwdriver: The faithful companion for any DIY enthusiast.
- Hex Key (Allen Wrench): A handy tool for handles that utilize set screws.
- Adjustable Wrench: Perfect for handles with a visible screw or nut.
- Plumber’s Tape: An often overlooked but invaluable tool for reinstallation.
Methods of Handle Extraction
1. The Set Screw Conundrum:
For Handles with a Concealed Set Screw:
- Locate the set screw: It’s usually positioned under a decorative cap or cover.
- Use the hex key: Insert the hex key into the set screw and turn counterclockwise to loosen.
- Gently wiggle the handle: Once the set screw is loose, the handle should slide off effortlessly.
2. The Visible Screw or Nut Affair:
For Handles with an Exposed Screw or Nut:
- Unscrew or Unbolt: Use your screwdriver or adjustable wrench to remove the visible screw or nut.
- Twist and Turn: With the screw or nut removed, the handle should now be ready to glide off.
Handle Removal FAQs: Navigating Common Queries
1. Can I use WD-40 to loosen a stubborn set screw?
Absolutely. A few drops of WD-40 can work wonders in loosening a tight set screw.
2. What if my handle doesn’t have a visible screw or set screw?
Handles without visible screws might be secured with a concealed screw or adhesive. In such cases, refer to the manufacturer’s guidelines or consult a professional plumber.
3. Is it necessary to turn off the water before removing the handle?
While it’s not mandatory, turning off the water ensures a mess-free removal process. Safety first!
4. Can I reuse the handle after removal?
Certainly. Ensure the handle is in good condition, clean, and apply plumber’s tape before reinstallation.
5. Why won’t my handle budge even after loosening the set screw?
Gently tap the handle with a rubber mallet or use a penetrating oil like WD-40 to ease the removal process.
Conclusion: A Handle-Free Future Beckons
With the shower handle gracefully removed, you’re now poised for the next chapter in your bathroom transformation. Whether it’s a swift upgrade or a complete overhaul, you’ve conquered the first step. Let the remodeling adventure continue!


