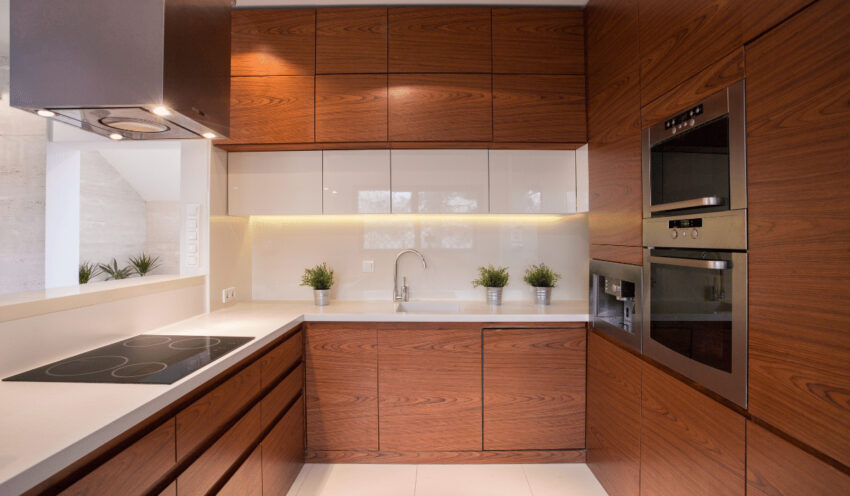
Cupboard doors are an essential part of any kitchen or bedroom cabinet. While purchasing pre-made cupboard doors may be an option, making your own can be a fun and rewarding DIY project. It also allows you to customize the size, shape, and style of your cupboard doors to match your interior decor. In this article, we will provide you with a step-by-step guide on how to make cupboard doors.
Materials Required
Before you begin making your cupboard doors, you will need the following materials:
- Measuring tape
- Table saw or circular saw
- Jigsaw
- Sandpaper (80 grit and 120 grit)
- Drill
- Screws
- Wood glue
- Paint or stain (optional)
- Cabinet door handles (optional)
Step 1: Measure the Cupboard Opening
The first step in making cupboard doors is to measure the opening of the cupboard. Use a measuring tape to get the exact height and width of the opening. Make sure to measure from the inside edges of the cabinet, as this will ensure a perfect fit.
Step 2: Choose the Type of Wood
Choose the type of wood you want to use for your cupboard doors. You can select from a variety of wood types, such as maple, oak, cherry, or pine. Keep in mind that hardwoods are more durable than softwoods, but they are also more expensive.
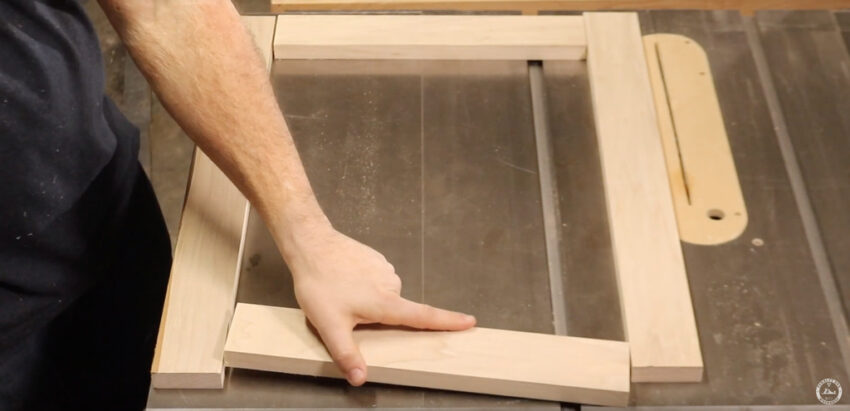
Step 3: Cut the Wood
Using a table saw or circular saw, cut the wood into pieces that match the height and width of the cupboard opening. For a basic cupboard door, you will need two pieces of wood for the top and bottom, and two pieces for the sides. The thickness of the wood will depend on your preference and the style of your cupboard doors.
Step 4: Create the Panel
The panel is the central part of the cupboard door that is inset between the frame pieces. To create the panel, measure the length and width of the door frame and cut a piece of wood to fit. You can choose to make the panel flat or add a design element, such as raised or recessed panels.
Step 5: Assemble the Frame
Using wood glue and screws, assemble the frame of the cupboard door. First, attach the top and bottom pieces to the sides, then attach the panel to the back of the frame. Make sure to use clamps to hold the pieces in place while the glue dries.
Step 6: Sand the Door
Once the glue has dried, use 80-grit sandpaper to sand the entire surface of the door. Then, switch to 120-grit sandpaper and sand again. This will create a smooth and even surface for painting or staining.
Step 7: Paint or Stain the Door
You can choose to paint or stain your cupboard doors to match your interior decor. If you choose to paint the doors, use a primer before painting to ensure a smooth and even finish. If you choose to stain the doors, make sure to apply the stain evenly and wipe off any excess.
Step 8: Install the Cabinet Door Handles
If you want to add cabinet door handles to your cupboard doors, drill holes where you want them to be placed. Then, attach the handles with screws.
Congratulations! You have successfully made your own cupboard doors.
Conclusion
Making your own cupboard doors is a fun and rewarding DIY project that can save you money and allow you to customize the style of your cupboards. By following the above steps, you can make cupboard doors that are the perfect fit for your home.