
Installing security cameras at home can help you keep your property and loved ones safe from theft and burglary. With advancements in technology, security cameras have become more affordable and easier to install. In this article, we’ll provide you with a step-by-step guide on how to install security cameras at home.
Materials Needed
Before you start installing security cameras, you’ll need to gather some materials. Here’s a list of the basic tools and equipment you’ll need:
- Security cameras
- DVR or NVR recorder
- Power cables
- Ethernet cables
- Drill
- Screws and anchors
- Screwdriver
- Monitor
Step 1: Plan Your Camera Placement
The first step in installing security cameras is to determine where you want to place them. You’ll need to identify the areas that are most vulnerable to theft or burglary, such as doors, windows, and garages. You should also consider areas that have poor lighting or are difficult to monitor.
Step 2: Install the DVR or NVR Recorder
The DVR or NVR recorder is the device that records and stores footage from your security cameras. It’s usually installed in a secure location, such as a closet or basement. You’ll need to connect the recorder to a power source and to your monitor.
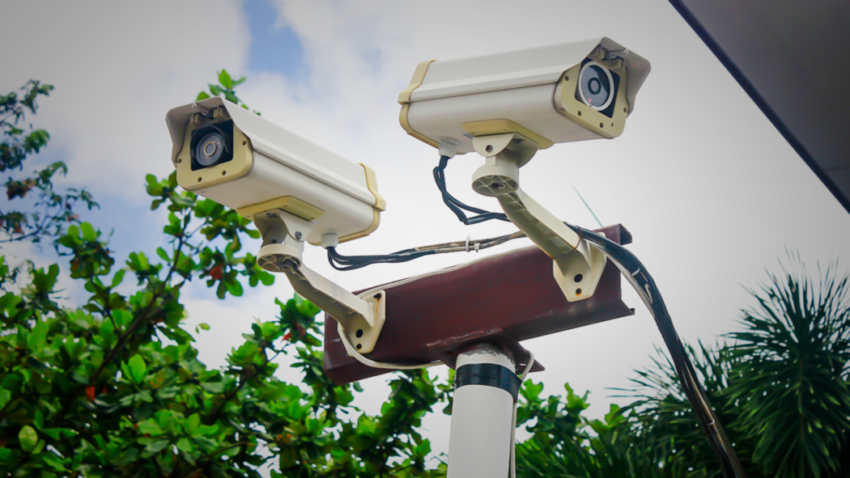
Step 3: Install the Cameras
Once you’ve identified the locations for your security cameras, you’ll need to install them. Start by drilling holes for the screws and anchors, and then mount the cameras in the desired locations. Make sure the cameras are pointed in the right direction and that they have a clear view of the area you want to monitor.
Step 4: Connect the Power and Ethernet Cables
After you’ve installed the cameras, you’ll need to connect the power and Ethernet cables. Connect the power cables to the cameras and to a power source, and then connect the Ethernet cables to the cameras and to the DVR or NVR recorder.
Step 5: Test the Cameras
Once you’ve installed the cameras and connected the cables, it’s important to test them to make sure they’re working properly. Check the footage on your monitor to ensure that you’re getting a clear image.
Step 6: Set Up Remote Viewing
Many modern security cameras allow you to view the footage remotely using a smartphone or computer. To set up remote viewing, you’ll need to download the appropriate app or software and follow the instructions to connect your cameras to the internet.
Step 7: Secure Your System
Finally, it’s important to secure your security camera system to prevent unauthorized access. Change the default login credentials and make sure your system is password-protected. You should also consider encrypting your data to prevent it from being intercepted by hackers.
With these simple steps, you can install a security camera system at home to keep your property and loved ones safe. By planning your camera placement, installing the cameras and cables, and securing your system, you can enjoy peace of mind knowing that your home is protected.
Conclusion
Installing security cameras at home can seem like a daunting task, but with the right tools and know-how, it’s a simple process. By following the steps outlined in this article, you can set up a security camera system that will help keep your property and loved ones safe.