If you want to upgrade your home’s flooring without breaking the bank, installing vinyl flooring could be the perfect solution. Vinyl flooring is a versatile, affordable, and durable flooring option that is easy to install, even for novice DIYers. In this article, we’ll walk you through the steps to install vinyl flooring yourself, from preparing the subfloor to laying the planks and finishing the edges.
What You’ll Need
Before you get started, you’ll need to gather a few tools and materials:
- Vinyl flooring planks or tiles
- Underlayment
- Measuring tape
- Utility knife
- Straightedge
- Flooring adhesive
- Trowel
- Rolling pin
- Thresholds and baseboards
- Hammer and nails
- Caulk and caulk gun (optional)
Step 1: Prepare the Subfloor
Before you start installing vinyl flooring, you need to prepare the subfloor. The subfloor should be clean, dry, and level. If there are any imperfections or bumps in the subfloor, you’ll need to fix them before proceeding.
- Remove any old flooring, carpet, or debris from the subfloor.
- Check for any loose or squeaky boards and secure them with screws or nails.
- Fill in any holes or cracks with wood filler or self-leveling compound.
- Use a straightedge to check for any high or low spots in the subfloor. Sand down high spots and fill in low spots with self-leveling compound.
Step 2: Install Underlayment
Underlayment is a thin layer of material that goes between the subfloor and the vinyl flooring. It provides a smooth and even surface for the vinyl planks to adhere to and helps to reduce noise.
- Roll out the underlayment over the subfloor and trim it to fit using a utility knife.
- Butt the seams of the underlayment together and tape them with underlayment tape.
Step 3: Measure and Cut the Vinyl Planks
Measure the length and width of the room to determine how many vinyl planks you’ll need.
- Lay out the vinyl planks in the room and allow them to acclimate to the temperature and humidity for at least 24 hours.
- Measure and mark the vinyl planks to fit the length and width of the room, leaving a 1/4-inch gap around the edges for expansion.
- Cut the vinyl planks to size using a straightedge and utility knife.
Step 4: Apply Adhesive and Lay the Planks
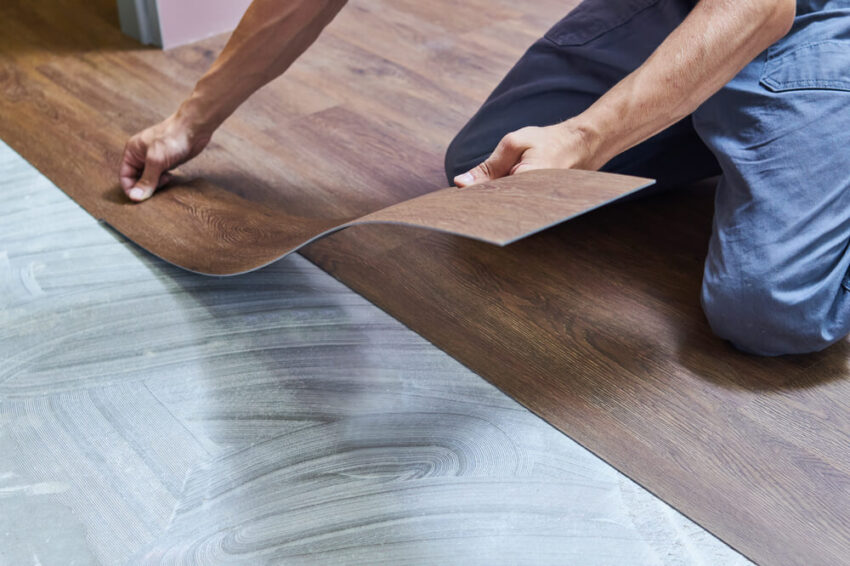
There are two methods to lay vinyl flooring: glue-down or click-and-lock. We’ll cover the glue-down method in this article.
- Mix the flooring adhesive according to the manufacturer’s instructions.
- Apply the adhesive to the subfloor using a trowel, starting at the center of the room and working outwards.
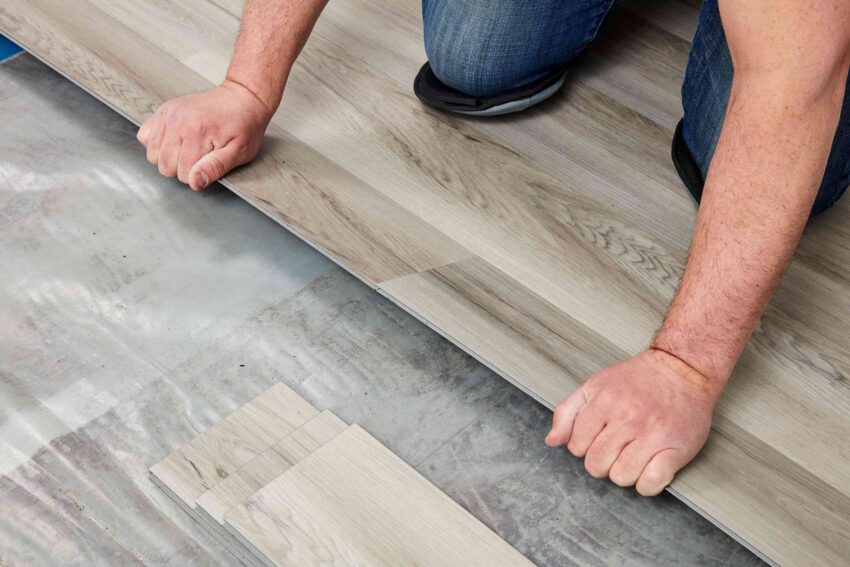
- Lay the first row of vinyl planks along the starting wall, using spacers to maintain the 1/4-inch gap.
- Apply adhesive to the back of each plank and press it firmly onto the subfloor.
- Repeat the process for the remaining rows, making sure to stagger the seams and avoid creating a pattern.
- Use a rolling pin to press the planks firmly into the adhesive and remove any air bubbles.
Step 5: Finish the Edges
Once the vinyl planks are in place, you’ll need to finish the edges with thresholds and baseboards.
- Install thresholds at doorways and transitions between rooms.
- Nail baseboards to the walls, leaving a small gap between the baseboard and the vinyl flooring for expansion.
Step 6: Maintain Your New Vinyl Flooring
Congratulations, you have successfully installed your new vinyl flooring! Here are a few tips on how to maintain it:
- Sweep or vacuum the floor regularly to remove dirt and debris.
- Use a damp mop and a mild cleaner to clean the floor.
- Avoid using abrasive cleaners or scrub brushes that can scratch the surface.
- Place felt pads under furniture legs to prevent scratching.
- Clean up spills immediately to prevent staining.
- Use rugs or mats in high-traffic areas to protect the flooring.
Conclusion
Installing vinyl flooring is a simple and affordable way to transform the look of your home. With a few basic tools and some patience, you can install vinyl flooring yourself and enjoy the benefits of a beautiful and durable floor. Just remember to prepare the subfloor, measure and cut the vinyl planks, apply adhesive and lay the planks, and finish the edges with thresholds and baseboards. With proper maintenance, your vinyl flooring will last for years to come.