Are you looking for a unique and eye-catching way to add some personality to your home? Why not try painting a checkered pattern on your walls? This timeless design is both classic and contemporary, and with a few simple steps, you can create a stunning feature in any room of your home. In this article, we’ll guide you through the process of painting a checkered pattern on your walls, step by step.
What is a checkered pattern?
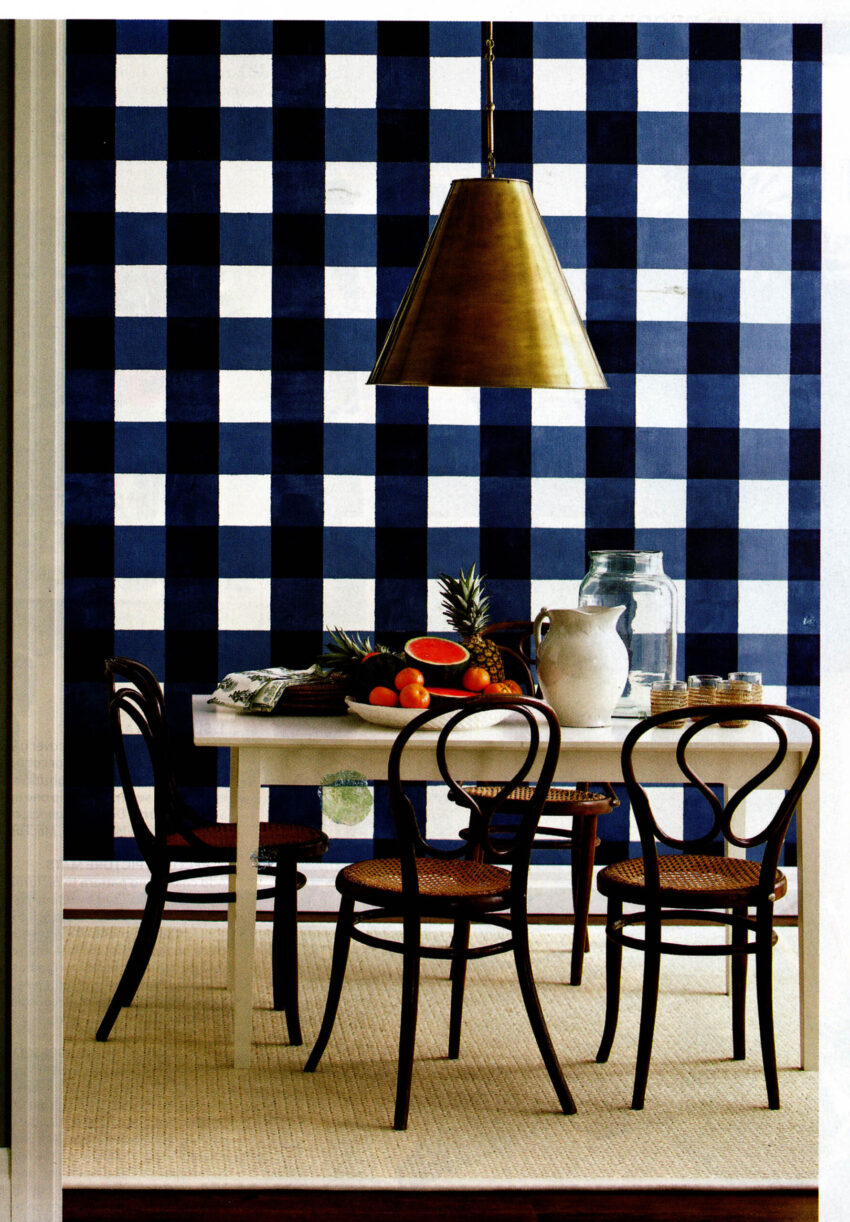
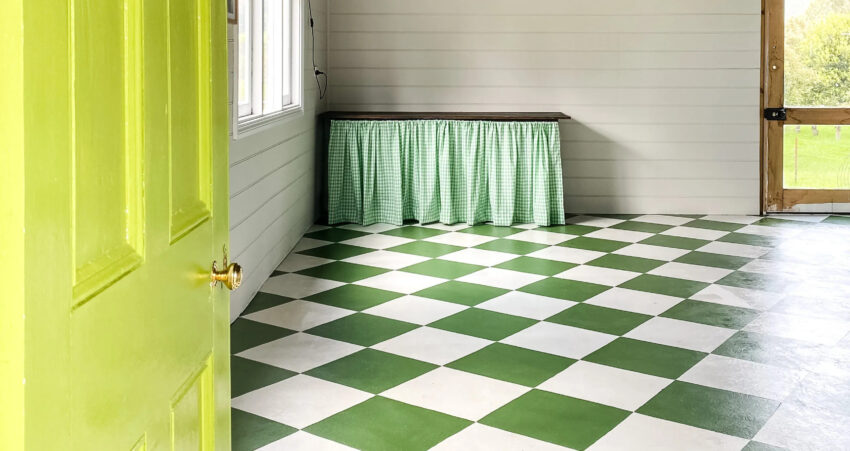
A checkered pattern is a design that consists of squares of alternating colors. It is a classic pattern that has been used for centuries in various forms of art and design. When applied to walls, it can create a visually interesting and dynamic effect that adds depth and texture to any room.
Choosing your color scheme
Before you begin painting, you need to choose your color scheme. The colors you choose will determine the overall mood and feel of the room. When choosing your colors, consider the existing decor and furnishings in the room. You want to choose colors that complement, not clash with, your existing pieces.
Measuring and marking your wall
Once you have your color scheme, it’s time to measure and mark your wall. Use a tape measure to determine the width and height of the wall, then divide it into even squares. The size of your squares will depend on the size of your wall and the look you’re going for. For example, if you have a smaller wall, you may want to use smaller squares to create a more intricate pattern.
Preparing your supplies
To paint a checkered pattern on your wall, you’ll need the following supplies:
- Paint (in your chosen colors)
- Paintbrushes
- Painter’s tape
- Drop cloths
- Measuring tape
- Pencil
- Level
Make sure you have all your supplies on hand before you begin painting.
Prepping your wall
Before you begin painting, you need to prep your wall. Remove any nails or screws from the wall and fill in any holes with spackle. Use sandpaper to smooth out any rough spots or bumps. Then, cover your floors and any furniture with drop cloths to protect them from paint splatters.
Painting your base color
Once your wall is prepped and your supplies are ready, it’s time to paint your base color. Use a paintbrush to carefully paint the entire wall with your chosen base color. Let the paint dry completely before moving on to the next step.
Taping off your pattern
Once your base coat is dry, it’s time to tape off your pattern. Use painter’s tape to mark off your squares, being sure to press the tape down firmly to ensure clean lines. Use a level to make sure your lines are straight and even.
Painting your second color
Now it’s time to paint your second color. Use a paintbrush to carefully paint inside the squares you’ve marked off with tape. Be sure to use a light touch and avoid pressing too hard on the brush, which can cause bleeding under the tape.
Removing the tape
Once you’ve finished painting, let the paint dry completely before removing the tape. Use a sharp utility knife to carefully cut along the edge of the tape before peeling it off. This will help prevent any paint from peeling off with the tape.
Touching up any mistakes
After removing the tape, you may notice some mistakes or areas where the paint has bled under the tape. Don’t worry – these can be easily touched up with a small paintbrush. Simply dip the brush into the appropriate color and carefully touch up any areas that need it.
Adding finishing touches
Once you’ve touched up any mistakes, your checkered wall is almost complete! Consider adding some finishing touches to really make it pop. For example, you could add a border or stencil a design around the edges of the wall. Get creative and have fun with it!
Maintaining your checkered wall
To keep your checkered wall looking its best, it’s important to properly maintain it. Use a soft, damp cloth to gently clean the wall as needed. Avoid using harsh chemicals or abrasive cleaners, as these can damage the paint.
Tips and tricks
- Use high-quality paint for the best results.
- If you’re unsure about your color scheme, try painting a small test area before committing to the whole wall.
- Make sure your base coat is completely dry before taping off your pattern.
- Use a small paintbrush to touch up any mistakes or bleeding under the tape.
- Have fun and get creative with your finishing touches!
Conclusion
Painting a checkered pattern on your walls is a fun and easy way to add some personality to your home. By following the steps outlined in this article and using a little creativity, you can create a stunning feature that will impress your guests and make you smile every time you enter the room. So go ahead and give it a try – you might just be surprised at how easy and rewarding it can be!