Are you tired of your plain, boring walls and want to give them a fresh, new look? One option to consider is using limewash paint. Not only does it give walls a unique and natural appearance, but it’s also an environmentally-friendly alternative to traditional paint. In this article, we’ll guide you through the steps of applying limewash paint to your walls.
What is Limewash Paint?
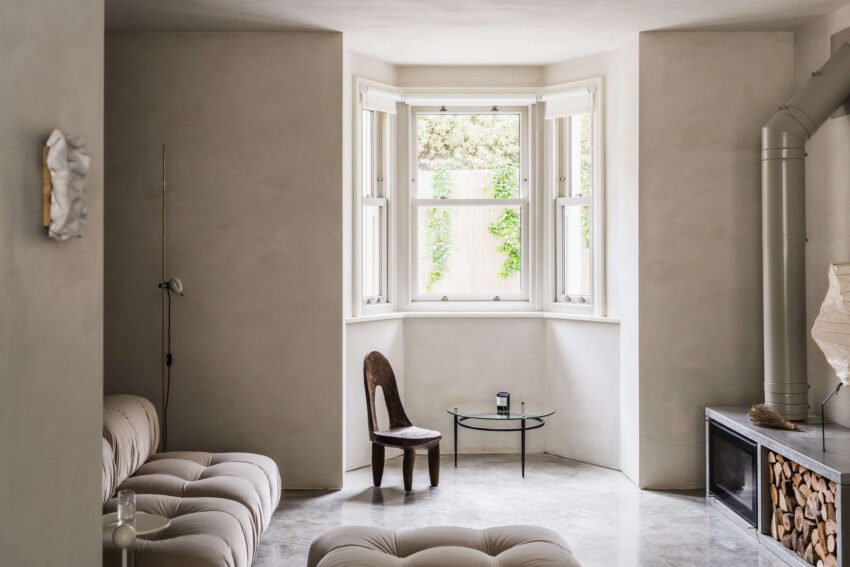
Limewash paint is a natural paint made of lime, water, and pigment. It’s been used for centuries and is known for its ability to create a beautiful, textured finish on walls. Unlike modern paints, limewash paint doesn’t create a uniform finish, which adds character and depth to your walls. Additionally, it’s breathable and anti-bacterial, making it a great option for those with allergies or sensitivities to chemicals.
Preparing the Wall
Before you start painting, it’s important to properly prepare the wall. This involves cleaning the wall, repairing any cracks or holes, and ensuring it’s completely dry. Here are the steps to follow:
Step 1: Clean the Wall
Remove any dirt, debris, or loose paint from the wall using a wire brush or scraper. If the wall is particularly dirty, you may need to use a mixture of water and mild soap to clean it thoroughly. Rinse the wall with clean water and let it dry completely.
Step 2: Repair Any Cracks or Holes
Inspect the wall for any cracks or holes and repair them using a spackle or joint compound. Once you’ve filled the holes, sand them down until they’re smooth and flush with the rest of the wall.
Step 3: Ensure the Wall is Completely Dry
Allow the wall to dry completely before applying this paint. Depending on the climate and humidity, this could take anywhere from a few hours to a few days.
Applying Limewash Paint
Now that you’ve properly prepared the wall, it’s time to apply the paint. Here are the steps to follow:
Step 1: Mix the Limewash Paint
Mix the limewash paint thoroughly using a paint mixer or drill with a mixing attachment. If you’re using a pre-mixed limewash paint, you may need to stir it before using it to ensure the pigment is evenly distributed.
Step 2: Apply the First Coat
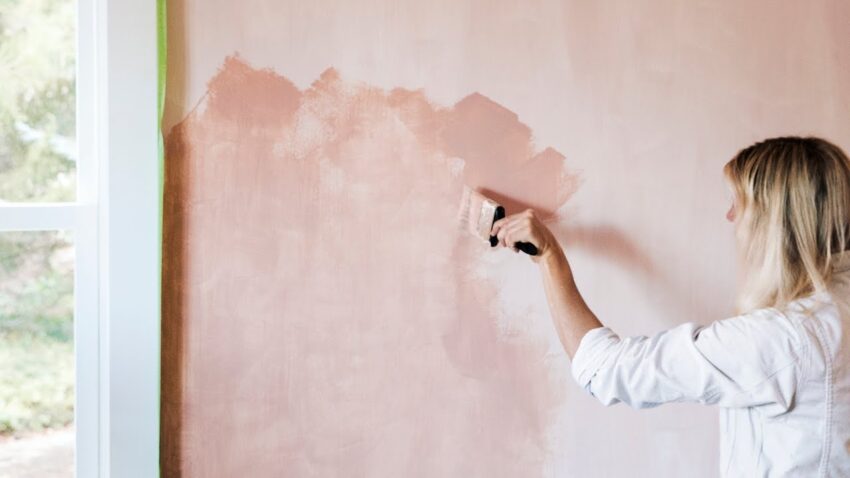
Using a brush or roller, apply the first coat of limewash paint to the wall. The consistency of the paint should be thin, similar to that of milk. Be sure to apply the paint in a criss-cross pattern to create texture and avoid streaks. Let the first coat dry completely before moving on to the second coat.
Step 3: Apply the Second Coat
Once the first coat is dry, apply the second coat in the same manner as the first. This coat should be slightly thicker than the first coat. You may need to use a spray bottle to mist the wall with water before applying the second coat to ensure the paint adheres properly. Let the second coat dry completely.
Step 4: Apply a Third Coat (Optional)
If you want a more opaque finish, you can apply a third coat of limewash paint. This coat should be thicker than the first two coats and applied in the same manner. Allow the third coat to dry completely.
Finishing Touches
Once the limewash paint is dry, you may want to apply a sealer to protect the finish. This is optional, but it can help protect the wall from moisture and dirt. There are several sealers you can use, including wax or a clear coat.
Limewash paint is a beautiful and eco-friendly option for those looking to refresh their walls. By properly preparing the wall and following the steps to apply the limewash paint, you can create a stunning, textured finish that will add character and depth to any room. Remember to take your time and let each coat dry completely before moving on to the next step.