Hey there, DIY enthusiast! Are you ready to give your house a fresh new look? Painting it can be quite a task, but with the right tools and some insider tips, you can achieve professional-looking results. In this guide, we’ll explore how to paint your house with a sprayer. It’s a game-changer when it comes to efficiency and getting that smooth finish you’ve always dreamed of.
Getting Started
Why Use a Sprayer?
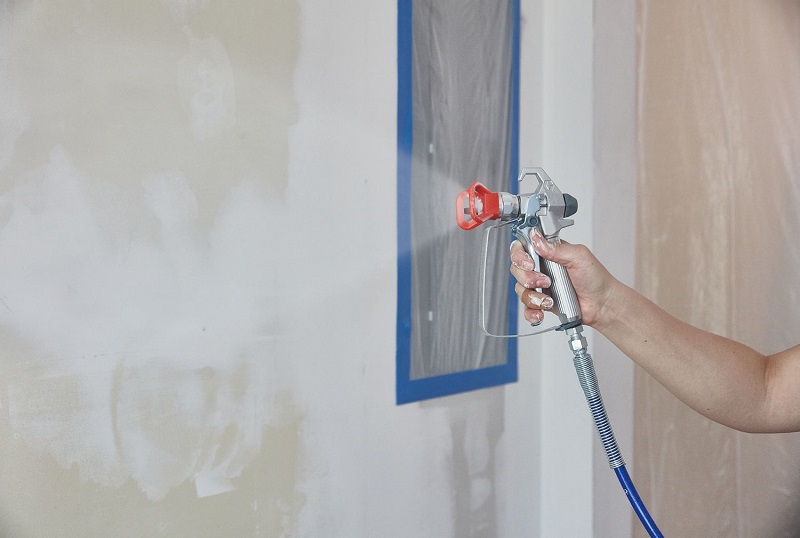
Before we dive into the nitty-gritty, you might be wondering why you should use a sprayer instead of traditional brushes or rollers. Think of it this way: using a sprayer is like upgrading from a flip phone to a smartphone. It’s faster, more efficient, and it gives you better results.
Sprayers create a fine mist of paint that evenly covers surfaces, reaching nooks and crannies that brushes can’t. Plus, they save you a ton of time. With a sprayer, you’ll be done in a fraction of the time it would take with brushes or rollers.
Gather Your Supplies
Okay, you’re convinced that a sprayer is the way to go. Now, let’s get everything you need:
- Paint Sprayer: Obviously, you’ll need a good-quality paint sprayer. You can either buy or rent one from your local home improvement store.
- Paint: Choose a high-quality paint that’s suitable for your surface (interior or exterior). Don’t forget primer if needed.
- Protective Gear: Safety first! Grab some safety goggles, a respirator mask, and gloves to protect yourself from paint fumes and splatters.
- Drop Cloths or Tarps: Cover anything you don’t want to paint – like plants, furniture, or walkways – with drop cloths or tarps.
- Masking Tape and Plastic Sheeting: Use masking tape to protect edges and corners. Plastic sheeting is excellent for larger areas like windows.
- Extension Cords and Power Source: Make sure you have enough extension cords to reach all the areas you plan to paint.
- Cleaning Supplies: You’ll need cleaning materials for your sprayer, like water or paint thinner, depending on the type of paint you’re using.
- Paint Strainers: These help prevent clogs in your sprayer by removing any impurities from the paint.
- Stir Sticks and Buckets: Stir your paint thoroughly before pouring it into the sprayer.
- Ladder or Scaffolding: Depending on the height of your house, you may need a ladder or scaffolding for those hard-to-reach spots.
Prepare Your Space
Now that you’ve got your supplies, it’s time to prep your space for painting:
- Clear the Area: Remove any obstacles or debris from around your house.
- Clean the Surface: A clean surface is crucial for a smooth finish. Pressure wash or scrub the surface to remove dirt, dust, and loose paint.
- Repair Any Damage: Fill in any cracks or holes with putty and sand down rough spots.
- Masking: Use masking tape and plastic sheeting to protect areas you don’t want to paint, like windows, doors, and trim.
- Mix Your Paint: Stir your paint well to ensure an even consistency. If you’re using multiple cans, mix them together to avoid any color variations.
Using Your Paint Sprayer
Test Spraying
Before you start blasting paint onto your house, do a test spray on a piece of cardboard or scrap wood. This helps you get a feel for the sprayer and allows you to adjust the settings for the best results.
Adjust the Settings
Sprayers come with adjustable settings for spray pattern, pressure, and flow rate. These settings can make a big difference in the outcome, so take your time to get them right.
Tip: Start with a wide spray pattern and lower pressure for broad areas, and then adjust for more precision in corners and edges.
Maintain the Right Distance
Hold the sprayer about 12 inches away from the surface you’re painting. Maintaining a consistent distance ensures an even coat of paint.
Keep Moving
Don’t stop in one spot for too long; keep the sprayer moving in a steady, overlapping motion. Imagine you’re mowing a lawn – the same back-and-forth pattern works best.
Overlap Strokes
When you make each pass with the sprayer, overlap the previous one by about 50%. This ensures complete coverage and avoids streaks.
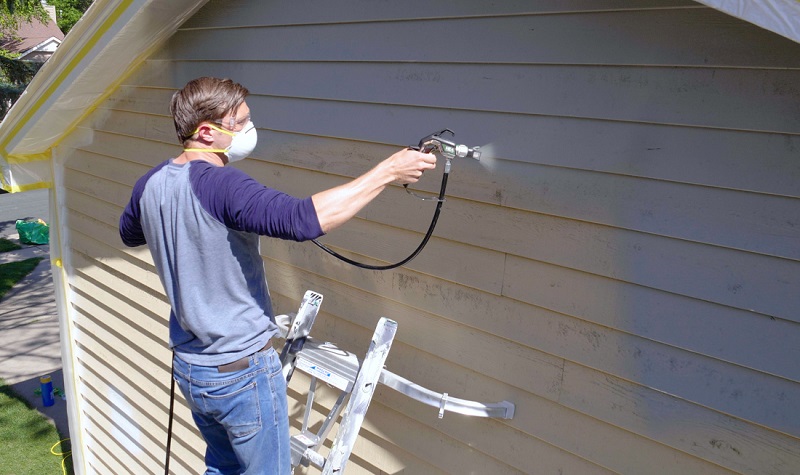
Be Mindful of Wind
If you’re painting outside, pay attention to the wind direction. You don’t want the wind blowing paint onto areas you didn’t intend to paint.
Paint in Sections
Divide your project into manageable sections. It’s easier to stay organized and ensure even coverage when you tackle one section at a time.
Don’t Rush
Painting with a sprayer is faster than traditional methods, but that doesn’t mean you should rush through it. Take your time to get that perfect finish.
Troubleshooting
Clogs
If your sprayer gets clogged, stop immediately and clean it. Clogs can lead to uneven spraying and frustrating delays.
Drips and Runs
Overapplying paint can result in drips and runs. To avoid this, maintain a consistent pace and avoid lingering in one spot.
Uneven Coverage
If you notice uneven coverage, it might be due to incorrect settings or inconsistent spraying. Adjust your settings and practice your technique.
Overspray
Overspray happens when the mist of paint drifts onto unintended surfaces. Be cautious and use masking to protect adjacent areas.
Cleaning Up
Once you’ve painted your house to perfection, it’s time to clean up your sprayer:
- Empty the Paint: Pour any leftover paint back into the can, straining it to remove impurities.
- Clean the Sprayer: Follow the manufacturer’s instructions for cleaning your sprayer thoroughly. This usually involves flushing it with water or paint thinner.
- Dispose of Waste Properly: Don’t dump paint or cleaning materials down the drain. Follow local guidelines for disposing of paint waste.
- Remove Masking: Carefully remove the masking tape and plastic sheeting. Dispose of them responsibly.
- Store Your Equipment: Store your sprayer and other equipment properly to keep them in good condition for future use.
Frequently Asked Questions
- Can I use a paint sprayer indoors?
Yes, you can use a paint sprayer indoors, but make sure the room is well-ventilated, and you use the appropriate safety gear, like a respirator mask, to protect yourself from paint fumes.
- Do I need to thin the paint for the sprayer?
It depends on the type of paint and the sprayer you’re using. Check the manufacturer’s recommendations on the paint can and the sprayer manual. In some cases, you may need to thin the paint with water or a specific thinning agent.
- How do I prevent overspray when using a sprayer?
To prevent overspray, use masking tape and plastic sheeting to cover areas you don’t want to paint. Additionally, be mindful of wind conditions and adjust your spraying technique accordingly.
- Can I paint my house with a sprayer by myself, or do I need a professional?
Painting your house with a sprayer is a DIY-friendly project if you’re comfortable with home improvement tasks. It’s certainly possible to do it yourself, but it may require some practice to achieve professional-looking results.
- How do I clean and maintain my paint sprayer for future use?
Properly cleaning your paint sprayer after each use is essential for its longevity. Follow the manufacturer’s cleaning instructions, which typically involve flushing the sprayer with water or an appropriate cleaning solution. Store it in a cool, dry place to prevent any damage or clogs. Regular maintenance will ensure your sprayer is ready for your next painting project.
Conclusion
Painting your house with a sprayer can be a rewarding and efficient DIY project. With the right preparation, technique, and patience, you’ll transform your home’s appearance and add value to your property. So, go ahead, grab that sprayer, and get ready to turn your house into the envy of the neighborhood!